
How to Instantly Improve Your Tide Pool Photography Part 3: Compact Underwater Cameras

If you’re looking to take high quality photos of marine life at the tide pools, by far the best kind of camera to have is a compact underwater camera. These point and shoot cameras have become very powerful over the last few years and are even used by some divers instead of larger, more expensive DSLRs with housings.
I’m not going into dive into the details of each camera in this article; that can be saved for later camera reviews. But in continuation of our “how to instantly improve your tide pool photography” series, this installment is going to talk about the most common options for compact waterproof cameras and cover some basic techniques.
- Why Underwater Cameras are the Best Option
- Things to Look for in an Underwater Camera
- Underwater Camera Options
- Accessories for Underwater Cameras
- Tips and Techniques
Why Underwater cameras are the best option

Some might wonder why a compact, point and shoot camera, even one that is water proof, is better at the tide pools than a DSLR with a housing. The main reason for this is that tide pools are often very small, smaller, in fact, than your DSLR camera with its housing. So even though DSLRs often have more settings control and sometimes higher quality images, it won’t matter because for the most part you won’t be able to use them to photograph small marine life.
However, DSLR cameras are great at the tide pools for other kinds of photography, like seascapes and larger animals. Check out this article to read more about this kind of photography.
Things to Look for in an underwater Camera
There are a few things you will want to look for when buying a water proof camera for the tide pools. We’re going to go over them here and give you a few of the most popular options and brands on the market.
- Waterproof: This one is kind of a no-brainer when you’re looking for an underwater camera. However, some cameras are only water resistant, designed to be splashed but not submerged. Many of the cameras that are waterproof still offer housings for divers, but these make your camera bulkier, which is a disadvantage in the tide pools.
- Shock Proof: The tide pools can be rough on cameras, so it’s a good idea to get one that is shock proof in case it gets a few knocks against rocks while hanging on your wrist.
- Compact: Most point and shoot underwater cameras will be small enough to get into tide pool crevices, but it’s important to keep this in mind as a some are larger than others.
- Macro Abilities: Many of the animals you will be shooting as an avid tide pool photographer will be incredibly small, sometimes measuring in the millimeters. In order to get an image with any kind of clarity or composition, you’ll need a camera that can focus in low light on subjects just centimeters away from the lens
- Price: Despite being point and shoot, these cameras are quite sophisticated and can be pricy. Not nearly as much as DSLR and mirrorless cameras, but still a substantial investment. You can get a very basic starter underwater camera for around $100, but it probably won’t perform much better than a smartphone does underwater. If you’re on a budget but want a name brand, look for sell outs of old models or used cameras to keep the cost down.
Underwater camera options
There are tons of options out there for point and shoot underwater cameras that can fit almost any budget. Of course, the less you spend, the less you can expect of the quality of the photos and accessories that you can pair with your camera. I’ve listed a few of the well known options and some of their pros and cons. Let me know if you use a different camera and about your results.
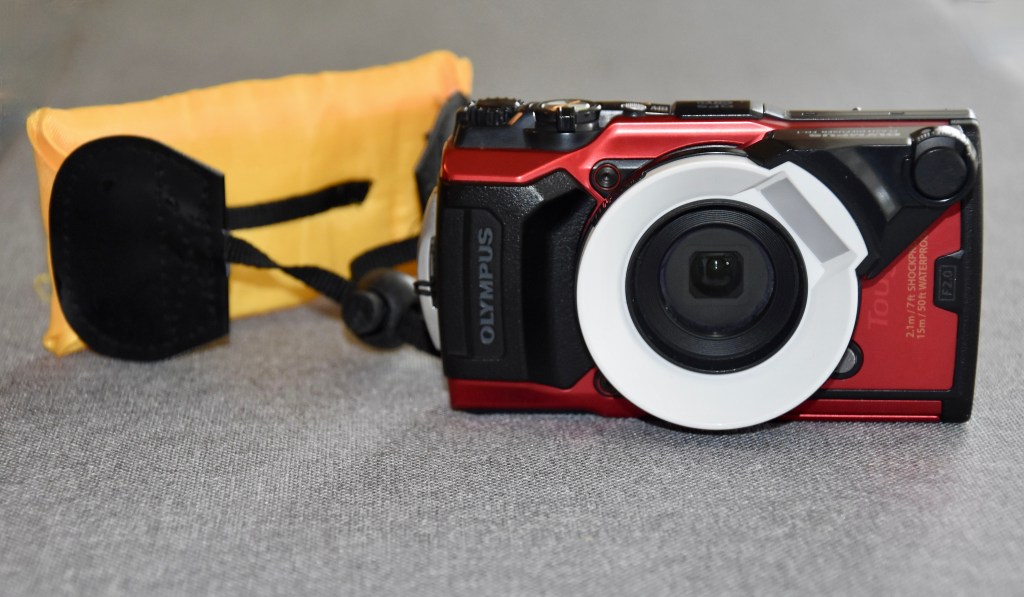
- Olympus Tough Series: This is the camera I use (the TG-6) and it is fantastic. The macro ability is amazing and the accessories like the flash diffuser and light ring are great for low light settings. This is probably the most popular compact camera among tide poolers. My first one lasted me for nearly 10 years and still works, but I’ve upgraded to a newer model. Depending on what model you choose, however, they can be pricey.
- SeaLife Cameras: These are primarily diving cameras but are compact enough to use for tide pooling as well. I can’t vouch for their quality personally, but they have various options and tons of lighting accessories if you want to use your camera for both tide pooling and diving. They even include a completely sealed (no memory card replacement) version of their diving camera for extra water proof protection.
- GoPro: The GoPro has been around for a while and has gone through many models. While there are huge downsides to this camera (no screen to see your subject, minimal settings), it is a good option for a beginning tide pooling camera, especially if you are on a budget and perhaps want to use your camera for other activities besides tide pooling.
- Fuji Film: These cameras are some of the least expensive but still nice quality underwater cameras on the market. There are a variety of models and settings and they come on sale rather frequently, when some of the other brands rarely do sales at all. You can also find these cameras lightly used for a substantial discount.
Accessories for underwater cameras

Depending on what underwater camera you have or intend to buy, your options for accessories will vary. However, for serious marine macro photography, there are a couple key accessories that I’ll go over here. Some of the lower end models or brands may not offer these accessories, so you’ll have to decide what tradeoffs you are willing to make.
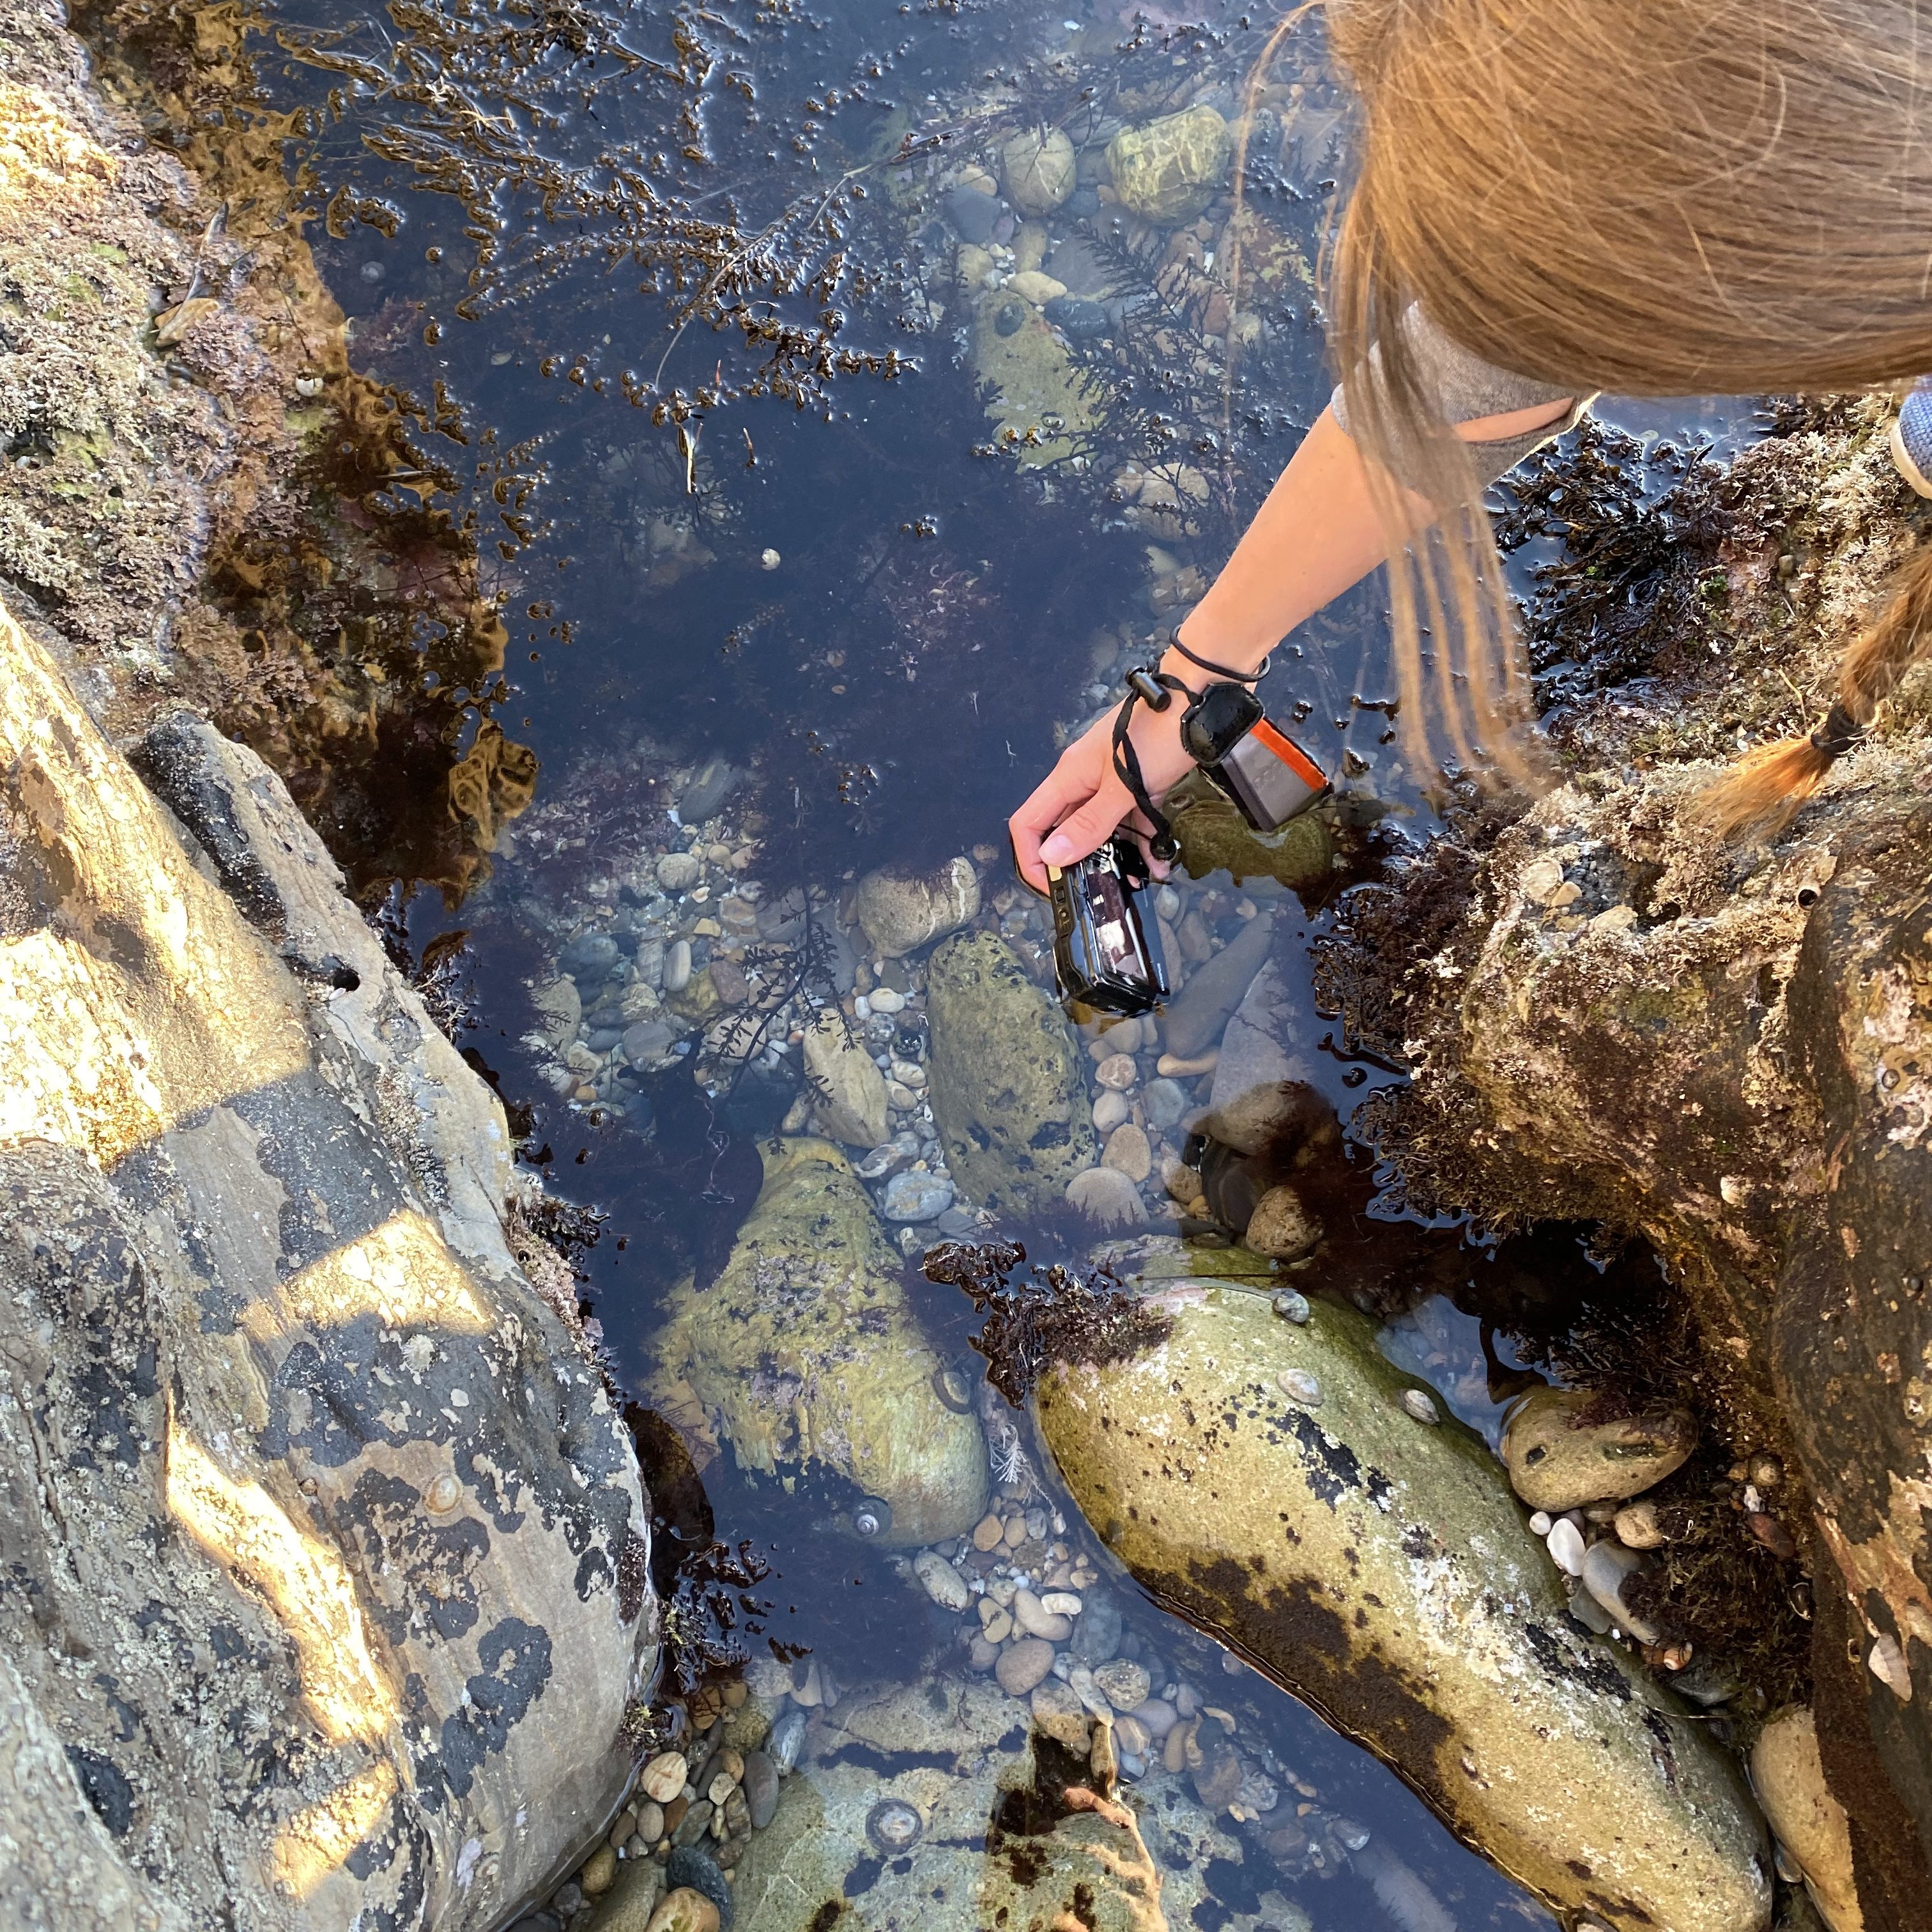
- Floaty Strap: No matter what underwater camera you have, you’ll need a floaty strap. This not only serves as a way to hang your camera from your wrist when you need both hand to navigate the rocks, but it also serves as a life vest for your camera. Tide pools can be deep and dropped camera is going to sink like a stone. While these straps won’t indefinitely keep your camera floating, they will hopefully delay sinking long enough for you to grab it.
- Flash Diffuser or light ring: The flash diffuser I use for my TG-6 exponentially increases my photo quality and it simply screws into my lens. Light rings are also helpful, but they are not always recommended for underwater use. There is a section on how to optimally use your flash diffuser below.
- Housing: Some compact cameras market housings, even if the camera is advertised as waterproof. While housings ensure (if you use them right) that your camera will not suffer water damage, they are bulky, expensive, and can impede mobility. You probably don’t need one for tide pooling.
Tips and Techniques
When it comes to shooting underwater in the tide pools, there are several important things to keep in mind. I’ve gathered together some things to expect and general tips so that you can improve your underwater photography.
1. Don’t Shadow Your Subject
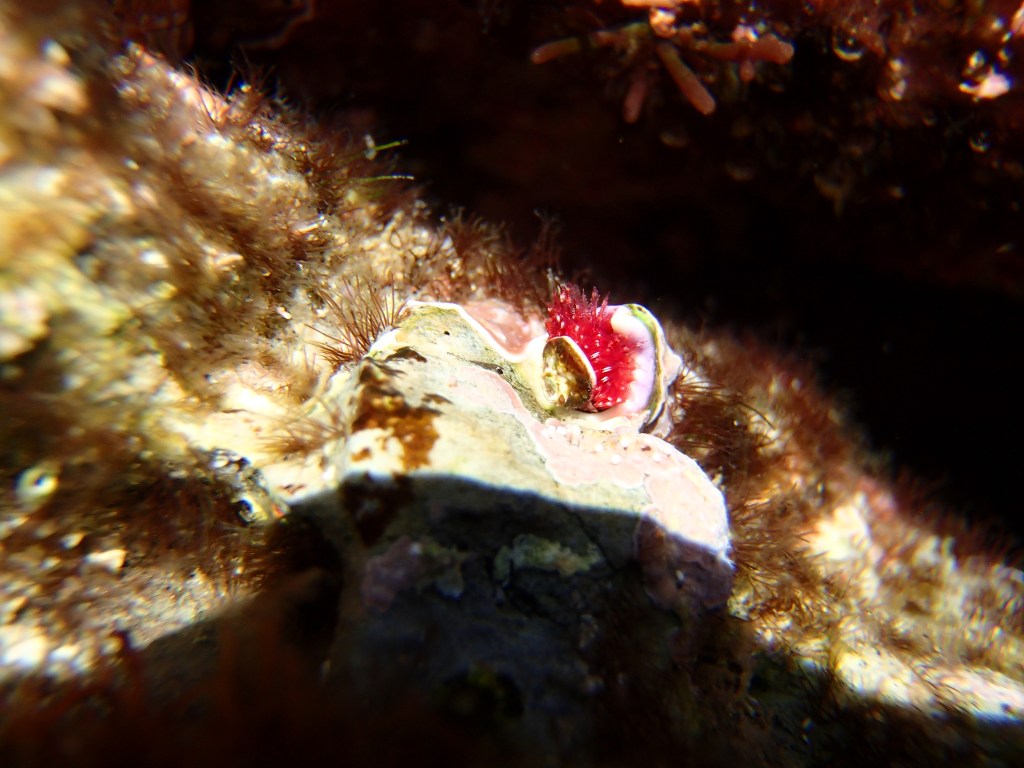
If you’re tide pooling during the day time, one of the most annoying issues you’ll run into is shadowing your subject with your camera. If you’re shooting something small like a nudibranch or barnacle, you’ll want to get your camera up close to fill the frame. But if you get too close, your camera will block out of the sun, casting a shadow over your subject and making it harder for your camera to focus. I nearly shadowed this Christmas tree worm I was shooting in the photo above.
This is a never ending problem with a few remedies. One is to shoot with a flash, which has pros and cons of its own that we’ll discuss later. The other is to shoot from the side of a creature, holding your camera perpendicular to the subject instead of parallel to it. This side angle still allows light to hit your subject, but it often make seeing your camera’s screen difficult.
2. Composition
Good composition is essential for any photography, but it is particularly important in tide pool photography. As the old saying goes “To fill the frame is the name of the game,” but this can be difficult when your subject is only 5 millimeters long.

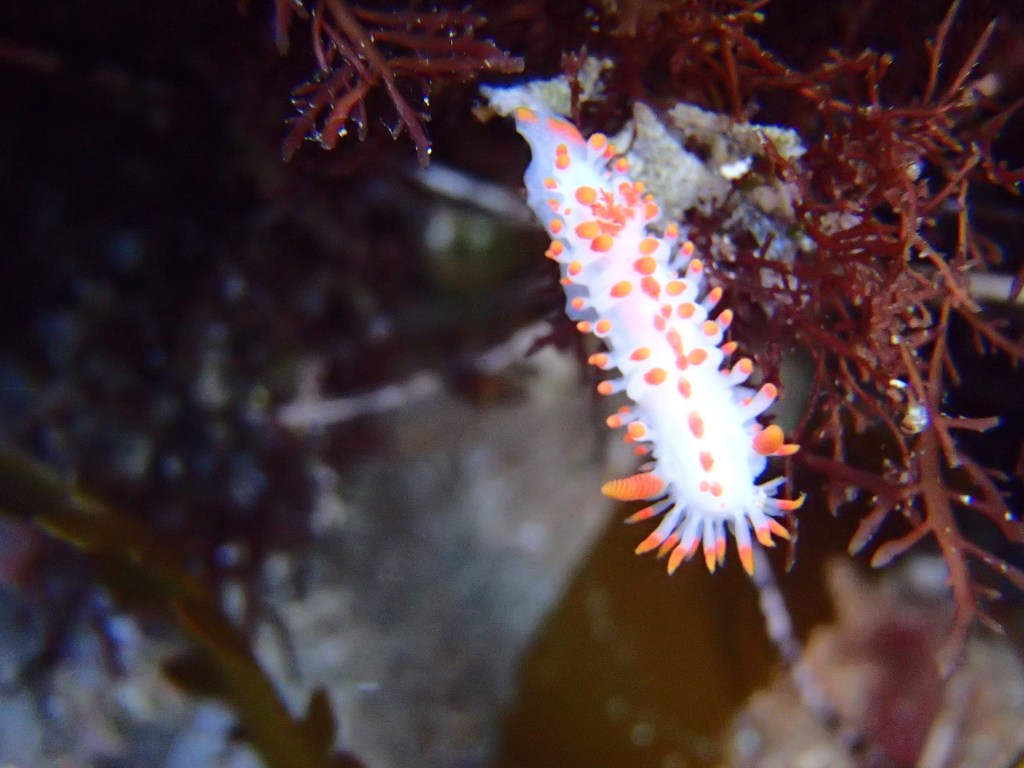
I’ll post a more fleshed out article about composition soon, but a good rule of thumb for tide pool composition is to get “eye level” with your subject (even if it doesn’t technically have eyes). Take a look at the two photos above. The photo on the left of a Opalescent Nudibranch (Hermissenda opalescens) is great for identification, but doesn’t have much aesthetic or thought provoking value. The image on the right of a Cockscomb nudibranch (Antiopella barbarensis), on the other hand, is visually striking and interesting as if we are seeing it through the eyes of another nudibranch. Of course, this isn’t a hard and fast rule, but it can help make your images more powerful.
3. Be Prepared to Not Be Able to See Your Screen

If you employ the rule of thumb mentioned above, like I did in the image above, you’ll probably run into an unfortunate side effect: not being able to see your screen. If you position your camera directly above your subject, you’ll seen your screen through the water. But if you turn the camera so that the lens is at “eye level” with your subject, you’ll have to scrunch your head down to see what you’ll be capturing in the picture.
This effect is amplified by the fact that the glass screen often reflects what’s behind it, making it impossible for you to see what your camera is pointed at. This issue is hard to remedy and no compact, underwater cameras that I know of have a tilting screen like many DSLR cameras have. Just take your best guess, shoot a lot of pictures, and hope that a few are have your subject in them.
4. Steady Hands
Macro photography in general needs a steady hand to ensure your subject is in focus and marine macro photography is no exception. Otherwise great photos are more or less ruined by blurriness. Photographing tiny tide pool creatures can sometimes force you into uncomfortable positions. If you find you hands shaking, try to rest them on a rock or even stabilize with one finger if you can’t move your whole hand. This will help with blurriness as well as taking frequent rests to let your arms recover. The image above would have been a great shot, but it is slightly blurry.
5. Turn on your flash
This is a big one and one that I missed for a long time. It took me taking my first truly in-the-dark trip to the tide pools to realize how much turning on your flash improves your photos. It greatly increases clarity as the camera has more light to help it focus, and many cameras have a guide light to help with focus even more. The flash makes your photos feel totally different so I switch mine on and off as I like.
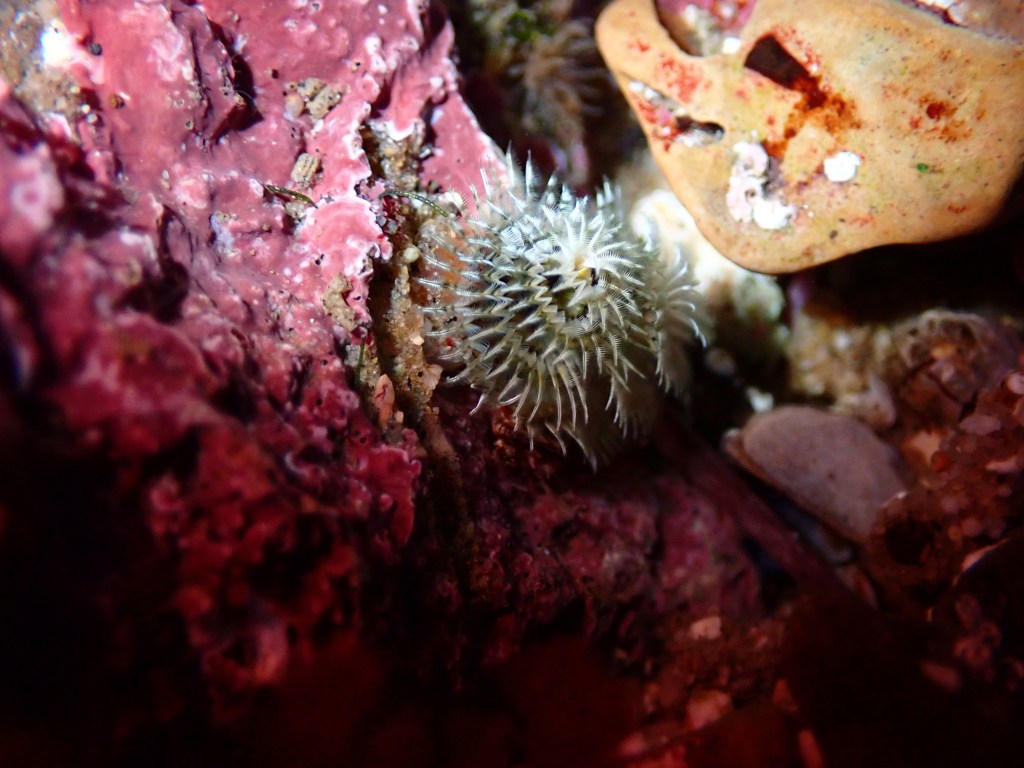
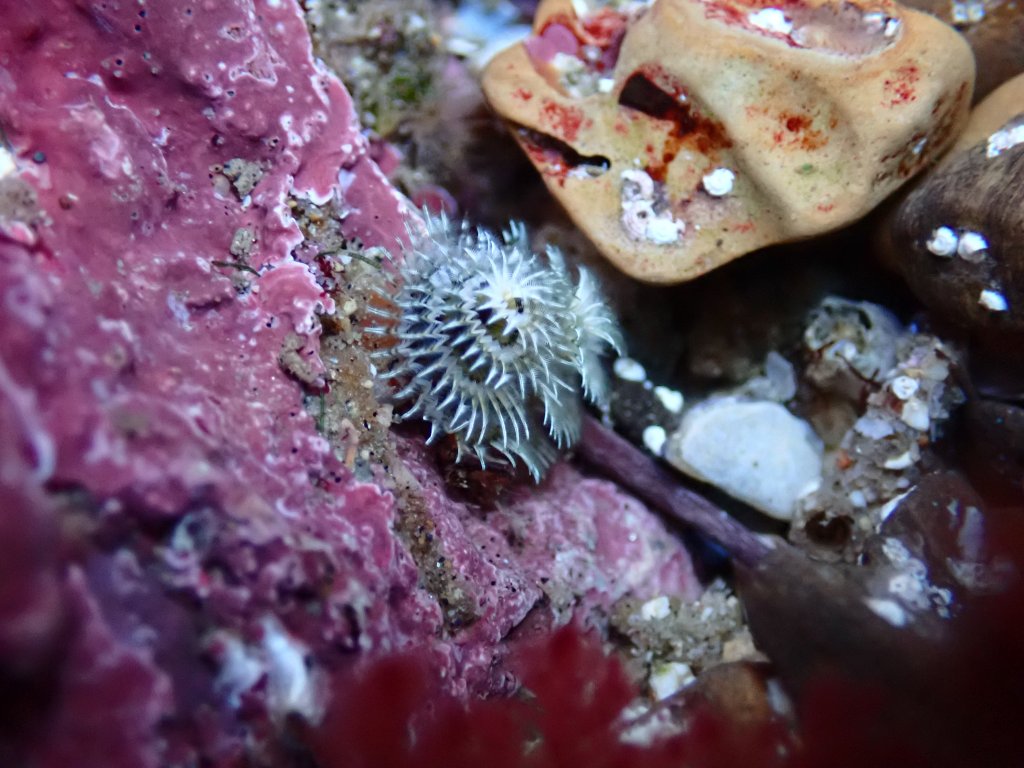
A word of caution when using your flash, it cannot shine straight down. Thus the bottom half of your image may be shadowed if you are very close to your subject. Be aware of this and maybe back up a few inches away so avoid it. The image below on the left was shot with a flash, which caused the dark shadow because I was too close to the Christmas tree work (Spirobranchus spinosus). In this instance, shooting without the flash, as I did on the right, was the better option.
6. Use a Flash Diffuser
This tip is building off the one above, but I cannot over stress how important a flash diffuser is. Not all cameras have this option, but the one for the TG-6 is only about ~$40 and it is so worth it. It’s super easy to snap onto the front of your lens and elevates your photos so much by eliminating wash out, bringing out color, and throwing light on your subject. Check out the difference in color and clarity alone in the two photos below of a cockscomb nudibranch (Antiopella barbarensis): the one of the left is shot without a flash while the one on the right is shot with a flash diffuser.


The diffuser provides no light of its own (unlike the light ring), but instead reflecst and bounces the light from the flash. It has two settings for more or less light, but the downside is that it blocks the guide light on the TG-6, so you will need a headlamp or flash light for nighttime photography.

The flash diffuser also holds one of the biggest secrets in marine macro photography: the black background. I certainly wondered how photographers achieved a solid black background without a studio, but the spraying of light on your subject with a flash diffuser is the way to do this. The photo below was taken with a flash diffuser.


Categories
tags
Subscribe to the blog
Sign up to receive weekly emails with tide pooling information and guides so you never miss a post!

Leave a comment